

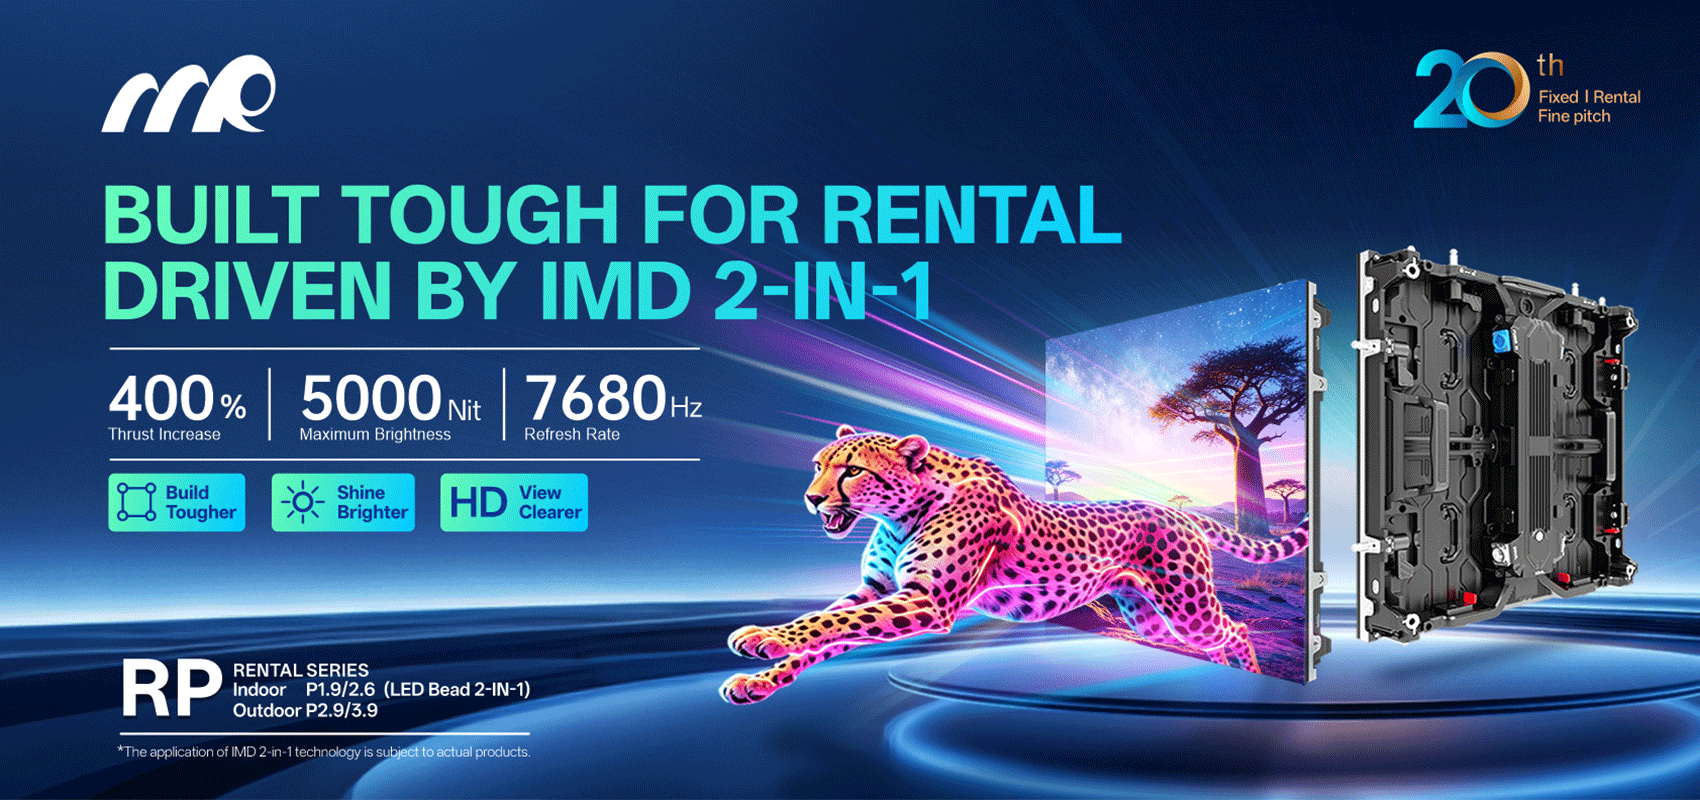
Problem: Visible seams and misalignment in curved LED signage
Large-format curved panels often expose seams where modules meet, creating visual breaks that defeat the display’s purpose. Engineers face tight mechanical tolerances, differential thermal expansion, and connector variability that all exacerbate seam visibility. For close-view applications, designers may specify a small led screen with fine pixel pitch, but mechanical joining remains the decisive factor for a seamless result.
Why standard mounts fail — a cautious technical read
Conventional flat panel mounts rely on planar tolerances; they don’t compensate for radius changes or cumulative error across many modules. Even with consistent LED driver behaviour and matched refresh rate settings, a single misaligned cabinet creates a perceivable discontinuity. The failure modes are predictable: bolt loosening under vibration, minor torque variance at installation, and thermal drift under sun or strong lighting. Each contributes millimetres of offset that the eye reads as a seam.
MR LED’s interlocking curved side-locks: design intent and mechanics
The interlocking curved side-lock is a mechanical solution that converts small linear errors into controlled shear along a designed geometry. Locks engage at multiple contact points, distributing preload so that cabinet faces self-align when latched. The system uses calibrated pins and a guided cam profile to regulate axial movement while preserving serviceability. Pixel pitch remains uniform across the joint because the mechanism minimizes lateral displacement and resists rotational torque during thermal cycles.
Field evidence and a real-world anchor
Implementations in high-visibility locations—think Times Square installations where viewers scrutinize every seam—show that consistent locking geometry reduces visible discontinuities by an order of magnitude compared with simple flange joins. That outcome is not anecdotal; it’s the product of repeatable mechanical tolerances, verified on-site with optical alignment tools and post-installation calibration of the display’s colour and gamma curves.
Installation and calibration best practices
Successful deployment pairs the interlocking hardware with disciplined installation workflows. Start with a datum line and verify cabinet radius before engaging locks. Use calibrated torque wrenches for the final fasten and record settings for future maintenance. After mechanical alignment, run a pixel-level calibration pass to correct micro-shifts in colour or brightness. This dual approach—mechanical then electronic—keeps seam visibility below perceptual thresholds.
Common mistakes: under-torquing during latch engagement, skipping sequential alignment checks, and ignoring thermal expansion allowances in outdoor installs. Avoid these and the mechanism performs predictably — but monitor periodically, especially in coastal or high-UV environments where material creep can occur.
Comparative insight: alternatives and trade-offs
There are three common strategies: aggressive electronic blending, flexible module bezels, and precision mechanical interlocks. Electronic blending can mask minor gaps but increases processing load and can introduce halo artifacts when viewed close up. Flexible bezels allow curvature but often compromise long-term rigidity. Interlocking side-locks add upfront mechanical complexity but reduce reliance on software correction and simplify long-term maintenance. Choose based on viewing distance, pixel pitch, and expected maintenance cadence.
Human note — small aside
The installation crew will notice the difference: the locks make alignment less finicky and reduce rework. — It’s a small operational win that pays back on labour time and on-site risk.
Closing advisory: three golden rules for choosing the right approach
1) Structural precision metric — require cabinet-to-cabinet alignment tolerance ≤0.5 mm at the face for close-view curved signage; that preserves perceived continuity at fine pixel pitch.
2) Durability metric — specify materials and locking cycles validated for at least 5,000 engagements and a defined corrosion class appropriate to the environment; this prevents drift from thermal expansion and coastal exposure.
3) System metric — verify that your LED driver and refresh rate settings support micro-calibration after mechanical alignment; electronic compensation should be a backup, not the primary seam solution. For compact installations where module size is small, also confirm compatibility with a mini led display screen workflow and its calibration tools.
The engineering outcome: fewer visible seams, easier service, and stable visual performance — all practical gains that point to the value of thoughtful mechanical design embodied by MR LED. — Final thought: precision wins.