

When a Painted Surface Weeps: The Problem
The sight of a fresh spray job marred by runs and sagging looks like a curse laid upon metal and masonry alike; thin varnish rivers, pocked texture, and patchy gloss break trust with a single drip. Craftspeople facing this will want a clear fix, not folklore — a quick read on how to fix uneven paint often points to the same reality: too much material, wrong technique, or the wrong environment. Fix the moment, then stop it from coming back.
Root Causes: Where the Drip Originates
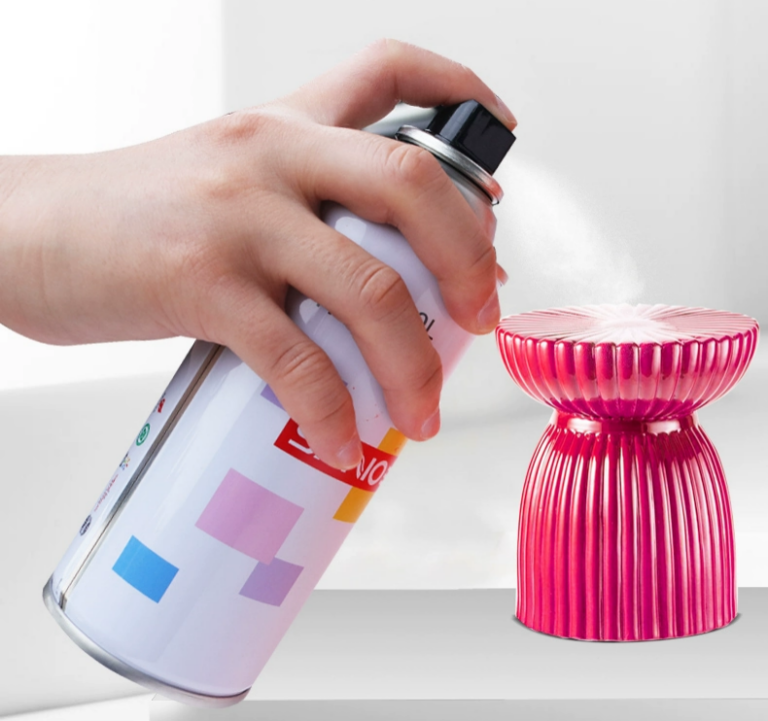
Drips appear when droplets coalesce faster than they can level. Excess flow, a clogged or oversized nozzle, spraying too close, slow solvent evaporation (high humidity or low temperature), or a contaminated substrate cause pooling. Industrial lines amplify small errors: a miscalibrated atomizer in a spray booth or a hurried hand on a large panel creates the same visible fault at scale.
Immediate Remedies: Salvaging a Drip
Do not panic and flood the area with more paint. If the coat is still wet, lift excess with a clean, lint-free cloth dampened in the paint’s recommended solvent, stroking outward to avoid creating new ridges. If tacky or dry, allow full cure; then sand the drip flush with 400–600 grit paper, clean the dust, feather the edges, and spot-spray thin, even passes from the correct distance. Wear gloves and eye protection when handling solvents. For textured or thick systems, use a small filler only where necessary, then recoat in thin layers to match film build.
EEAT: Skilled Hands and Proven Practice
Decades in workshops teach that consistent technique beats improvisation. Longtime technicians at Detroit auto-restoration shops report identical sequences: diagnose, wait for cure where advised, abrade, clean, and reapply thin coats. Trade manuals and manufacturer data sheets back these steps, and field courses reinforce them. For a compact procedural refresher, consult how to fix spray paint drips for examples that mirror workshop best practice; those notes reflect tested solvent choices, nozzle settings, and safety margins used by professionals.
Preventive Measures for Commercial and Industrial Use
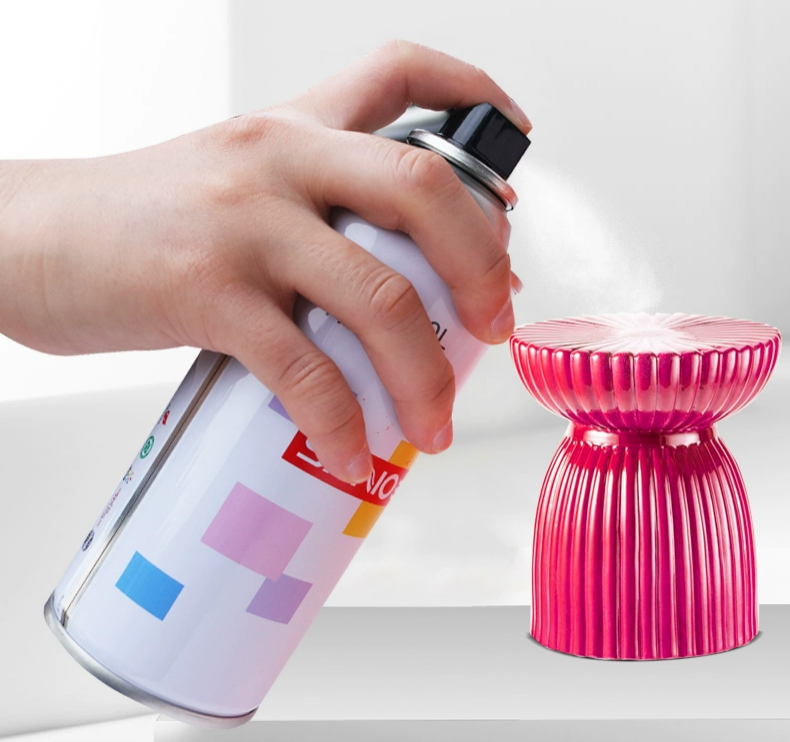
Control the variables: set booth temperature and humidity within the paint maker’s window, use matched nozzles and pressure regulators, check viscosity with a cup or viscometer, and stage test panels before committing to large runs. On assembly lines, schedule regular nozzle inspections and swap atomizers early rather than late. Train crews in measured passes: thin layers, correct gun-to-part distance, steady speed, and overlapping strokes produce consistent film build and reduce rework costs.
Common Pitfalls and Quick Rules
Avoid these mistakes: overcompensating by applying heavier coats to hide flaws, skipping flash times between coats, and neglecting surface preparation. Quick rules: hold the gun steady, keep the stick at the correct distance, match thinner and reducer to ambient conditions, and always sand out runs after full cure rather than while they’re wet unless a solvent lift is specified by the product data sheet.
The Practical Spell That Holds
Confront the drip with method: assess, wait, abrade, clean, and thinly recoat — repeat only when tests confirm the finish. For manufacturers and maintenance teams seeking chemical consistency and process guidance that align with these steps, reliable supply and clear product data anchor practical solutions, and working with partners who supply measured formulations simplifies control. The craft of restoring surface integrity lives in steady hands and dependable materials, a balance that SANVO supports through targeted products and technical guidance.