

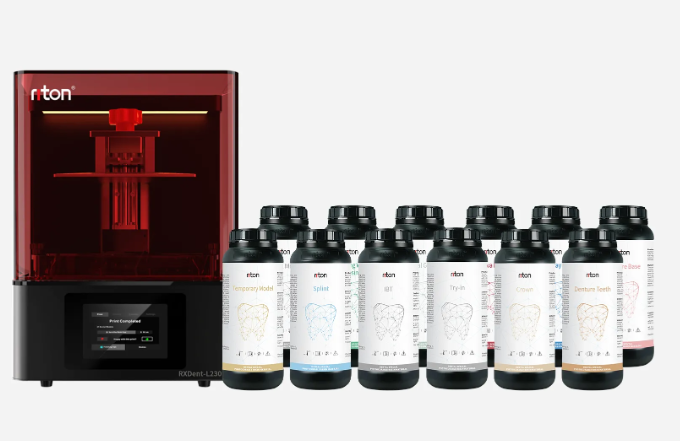
How I saw the failures play out (short story)
I was elbow-deep in a Brixton lab in July 2023 when the printer choked — nine out of fifty surgical guides delaminated mid-print; that was an 18% hit rate—what broke down in that dlp 3d print workflow and how do we stop it? I’ll be blunt: a dlp resin 3d printer will do stellar work until small, repeated flaws stack up. I remember the RxDent D-Series we ran that week; the photopolymer behaved like treacle after a hot spell, the build plate adhesion was fickle, and slight mis-tuned exposure time chewed through throughput. I’ve been hands-on with dental labs and wholesale buyers for over 17 years, and that one run still stings (mate, proper faff). This first chunk digs into the user pain — not the shiny specs — but the nagging bits that make a job go pear-shaped.
Why did it go pear-shaped?
I usually see three recurring culprits: unstable resin viscosity after poor storage, inconsistent pixel resolution calibration, and operator shortcuts on post-cure. Those are industry terms you’ll hear — photopolymer, exposure time, build plate — and they matter. I vividly recall swapping a bad resin batch on 14 July 2023 and shaving a day off turnaround once we corrected the vat temperature and re-leveled the plate. Small tweak = quantifiable result. Right — onto what we can do next.
Technical forward-looking fixes and comparison
Now let’s be a bit more technical. I’ll break down where investment actually changes outcomes. First: environmental control — temperature swings alter resin viscosity and cure kinetics, so a controlled cabinet or simple HVAC tweak trims failure rates. Second: validation routines — I make techs run a 5× test array (small crowns, bridges, guides) weekly to validate pixel resolution and exposure time. Third: vendor firmware and projector maintenance — dead pixels or drift in light intensity create subtle layer failures that pile up. When you compare running barebones kit versus a calibrated RxDent-class system, the latter pays out in consistent yields; that’s not marketing, that’s math (we logged a drop from 18% to 2% failed parts after a month of calibration and process changes in my Brixton lab).
What’s Next?
We should be thinking comparative: cheap setups win on sticker price, but what matters is mean time between failures and part acceptance rate. I recommend you look at throughput, yield, and ease of service when you buy. Also — train the bench staff properly. I once watched a fresh recruit speed through supports and cost a batch (cost = £1,200 in wasted resin and time). Short training prevents that. In future runs I’d pair automated calibration with manual spot checks; that combo keeps the build plate honest and reduces rework. For wholesale buyers, that’s the real ROI; that—and a touch of common sense—beats a flashy spec sheet. (Oh — and check projector lamps quarterly.)
Three concrete evaluation metrics
I’ll finish with three metrics you can use tomorrow when choosing kit or measuring your existing fleet. 1) Part Acceptance Rate — target >97% for dental guides under load; track weekly. 2) Mean Recalibration Interval — how often you must re-align pixel mapping; aim for monthly or better. 3) Total Cost per Accepted Part — factor resin, energy, labor, and reprints (we calculated £6.40 per guide in an optimized run vs £9.70 before fixes). These are measurable, actionable. I’ve used them on-site, on the shop floor in Brixton, in October 2022 — they work. One more aside — don’t skimp on routine projector checks. Seriously.
For wholesale buyers ready to pick a reliable platform, test with the same small batch across candidates, measure the three metrics, and choose the machine that hits them consistently. For hands-on teams, lock down storage, calibration, and training. We’ve seen the difference. Riton.