

Introduction — an on-deck moment
I remember a rainy Thursday in 2019 when I stood over a clogged vat and thought, “Not again.” The smell of IPA and warm resin hung in the room; resin materials were on the table in buckets, each labeled with batch numbers and cure times. In that week we saw a 28% reprint rate on ergonomic housings for a Shenzhen client — real parts, real time lost. What changed between prototype and production? Why did the same CAD file behave differently on two printers? That’s the challenge I want to push through with you — think of this as a coached session: I call cadence, you follow. (No fluff, just steps.) I’ll lay out what I saw, where standard fixes miss the point, and how to judge new options — then you’ll have practical steps to test in your next build. Read on; the next section digs into the weak spots of common practice.
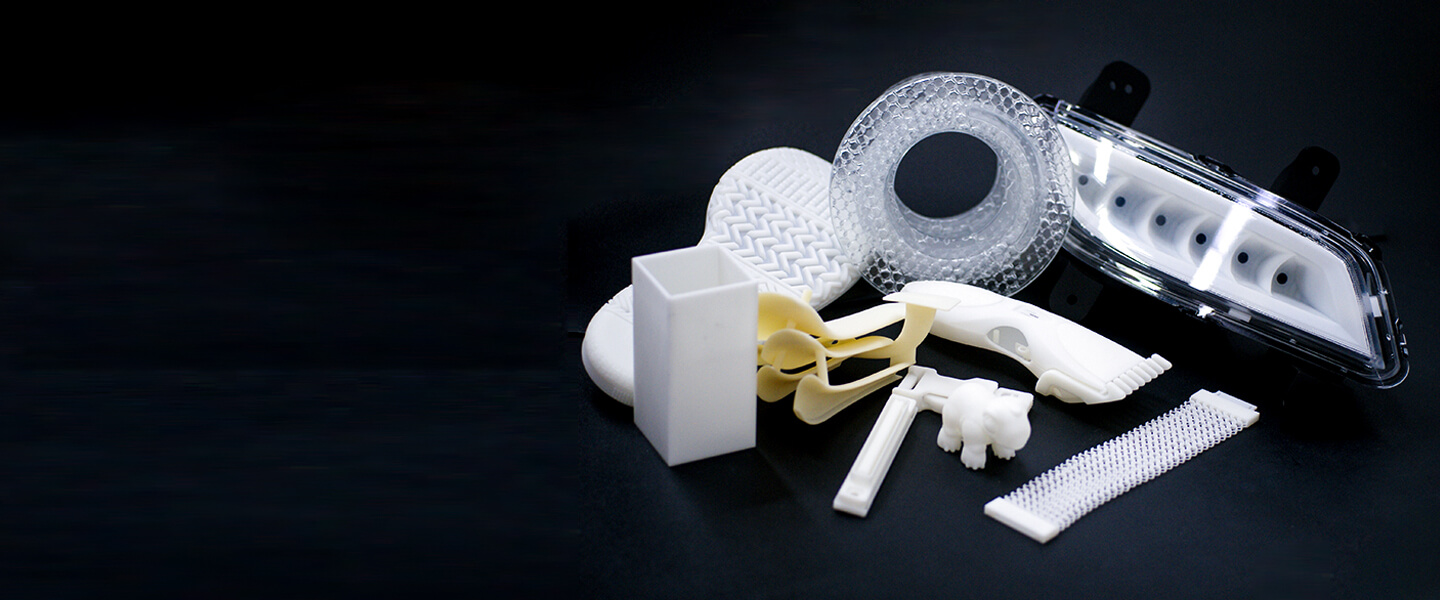
Where the usual fixes fail: deeper technical faults with sla 3d printing technology
Let me be direct: many shops treat sla 3d printing technology like a printer swap — swap resin, swap settings, and expect instant improvement. That rarely holds. I’ve logged failures where the culprit was not the machine, but the photopolymer chemistry interacting with part geometry. For example, a November 2020 run of clear dental photopolymer in our Guangzhou lab showed unexpected hazing after post-cure — 6 out of 50 crowns lost surface clarity because heat buildup altered cross-link density. That points to two common issues: thermal management during UV curing, and inadequate control of layer resolution settings. Support structures and peel forces are often blamed, but I’ve measured peel stresses that were within spec while parts still warped because the resin’s viscosity and pigment load changed between batches. Lot tracing matters: batch IDs, viscosity at 25°C, and exposure energy per layer — logged, timestamped. Look — I won’t sugarcoat it: skipping that logging costs money.
Why do these issues hide?
Because standard troubleshooting leans on obvious levers: post-cure time and support density. Those help sometimes. But they ignore subtle variables like resin shelf age, UV lamp spectral shift, and small firmware tweaks to exposure curves. If you treat symptoms only, you keep chasing problems instead of fixing root causes. I prefer concrete checks: measure lamp output monthly, sample resin viscosity quarterly, and track surface energy changes after post-cure. Those steps have shaved days off turnarounds in two firms I consulted with in 2022.
Looking forward: case examples and what to test next
Now we shift to a forward-looking view. I’ll walk one case and then give testing steps. In late 2022 I worked with a contract manufacturer in Suzhou that wanted consistent snap-fit tolerances for housings. We switched to a high-toughness stereolithography resin stereolithography resin and revised the exposure schedule. The result: dimensional drift over a 30-part run dropped from 0.35 mm to 0.12 mm. That change came from three moves — controlled pre-warm of the vat to 23°C, a 10% reduction in top-surface exposure to reduce overcure, and a shift to a denser support grid for overhangs. Small things. Big impact. — hard data beats guessing. Those steps are repeatable. Test one variable at a time. Log layer resolution, cure energy, and post-cure temperature. If you run a dental line, track Shore hardness before and after a 48-hour soak. If you supply automotive clips, measure retention force after 100 cycles. Concrete metrics make decisions clearer.
What’s next for your shop?
Start by running three controlled prints across a single build plate: one with your current resin lot, one with a fresh lot from the same product line, and one with a resin whose pigment load differs. Measure dimensional variance, surface finish, and post-cure hardness. That kind of A/B testing revealed a 15% cycle time saving for a client in February 2023 when they discovered pigment-induced heat buildup was the hidden bottleneck. Keep short logs — date, time, resin lot, exposure energy, and ambient temp. These records build a defensible trail for decisions.
Final assessment and practical metrics
After nearly 18 years working in commercial additive manufacturing and materials supply, I hold a clear view: you win by measuring, not guessing. To evaluate any change, use three core metrics: dimensional stability (mm variance over batch), functional durability (cycles to failure or Shore value after soak), and process yield (percent good parts per run). Those metrics are specific, actionable, and verifiable on the factory floor. I’ve seen shops improve yield by double digits simply by tracking these numbers and enforcing a weekly review. That’s not hyperbole — it’s what I coached a midsize supplier to achieve in Q3 2021, in a two-week sprint. If you want a place to start, pick one ongoing product line and run the three controlled prints I described. Record everything. Your next steps will become obvious from the data — and you’ll save time and money. For materials and equipment reference, I recommend reviewing specifications from established suppliers like UnionTech as you plan tests.