

Problem first: what fails on the line
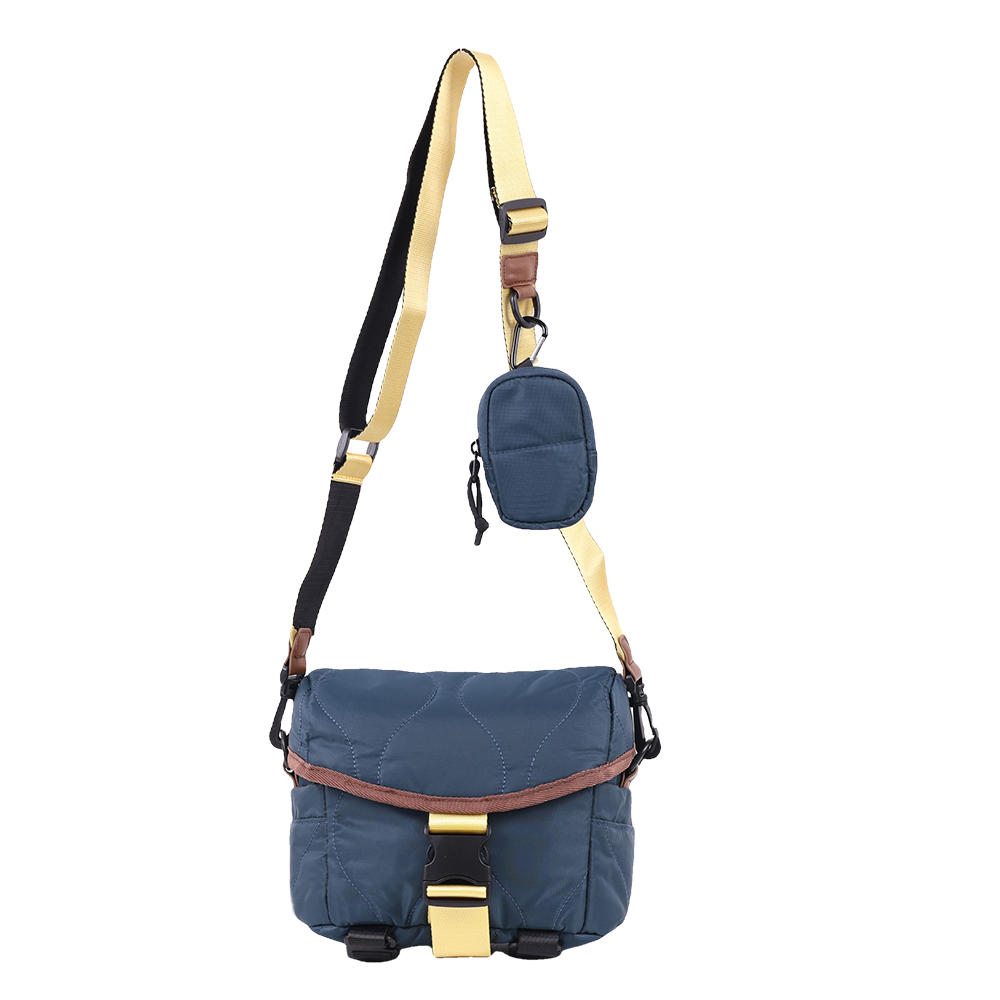
A production run looks good on paper until a zipper jams, a logo flakes, or padding collapses mid-use — those are the failures that spoil a batch. I approach quality control like a chef tasting through a menu: spot the weakest courses first. Start with a sample of a camera sling bag pulled from the same carton a customer will open; if the sample trips, the whole recipe needs reworking.
Material and fabric checks
Identify the fabric by name, weight, and weave; record tensile and tear values. Test abrasion resistance with a standardized rub test and measure water repellency with a spray head once and after 10 wash cycles. Evaluate colorfastness under a 40°C wash and under UV lamp for a set interval. If the fabric frays, pills, or loses coating beyond tolerance, reject the lot — patching on the line creates inconsistent results.
Seams, stitches and structural joints
Count stitches per inch on high-stress seams and confirm thread type and breaking strength. Pull tests on strap anchors should be performed to a defined load (e.g., 150% of intended maximum) and recorded. A single skipped stitch is not cosmetic: it’s a failure point. Use seam-tension charts and treat any deviation as a non-conformance that requires immediate offset correction.
Zippers, hardware and moving parts
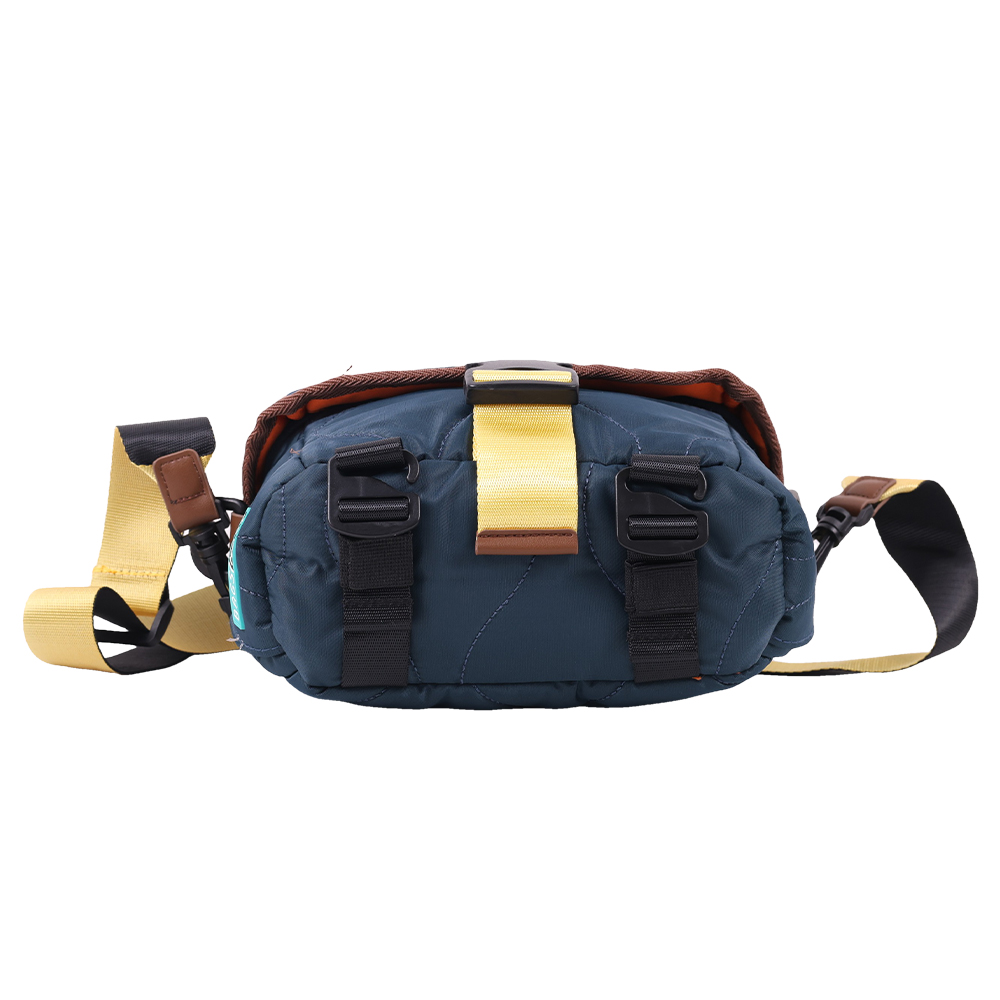
Operate every zipper through its full travel 100 cycles at ambient temperature and 50 cycles under damp conditions. Test sliders against grit and salt spray if the spec calls for outdoor use. Inspect metal fittings for plating adhesion and torque-test hardware screws and buckles. Document sound, smoothness and retention force; hard catches, loose rivets or plating flakes are rejects, not minor notes.
Branding durability and logo quality
Logos fail public trust faster than any seam. Whether heat-transfer, embroidery, deboss or woven label, apply abrasion, wash and adhesion tests specific to each method. For printed logos, perform rub and crock tests; for embroidery, put the stitched area through mechanical agitation. Measure color delta before and after exposure; if the pigment shift exceeds the tolerance table, the logo must be redone.
Protection, padding and fit — functional tests
Padded compartments must absorb and recover. Compress foam to spec and measure rebound; run drop tests with standardized weight profiles that represent actual gear. Fit a representative kit — body, lens, charger — and check ease of access and retention under movement. At trade events such as Photokina, professional photographers consistently point out inadequate padding and ill-fitting compartments; that same feedback shows up when you test a camera shoulder bag against a standard kit. Record pass/fail by equipment profile rather than by wishful labeling.
Waterproofing, coatings and hardware longevity
Measure coating thickness and adhesion, then simulate wear by flexing and abrading coated panels. Run salt-spray or humidity chamber tests for exposed metal parts. Check seam-sealing tapes for continuity and peel strength; a taped seam that delaminates at low force is a systemic problem. Water ingress tests must use a timed exposure with documented pressure and orientation.
Dimension, tolerance and interchangeability
Confirm external and internal dimensions against the tech pack using calibrated gauges. For modular systems, ensure buckles, mounts and dividers maintain interchangeability across batches. A single batch with mismatched tolerances breaks accessory ecosystems and triggers returns. Keep a tolerance ledger and flag any drifting trend immediately.
Sampling plan, batch acceptance and statistical control
Select acceptance sampling levels tied to order criticality. For high-risk runs, raise sample sizes and perform destructive testing. Track defect rates over time and apply control charts; if a process shifts, halt and correct rather than pass marginal units. Document every deviation with corrective action and verification to keep suppliers accountable.
Common pitfalls and how to avoid them
Relying solely on visual inspection misses latent failures. Ignoring standard test rigs for convenience invites returns. Overfitting a prototype to a single sample gives false confidence. Use objective measurements, repeatable fixtures and recorded cycles. Treat spec changes like recipe tweaks: test the new batch the same way you tested the original.
Final synthesis — a reliable finishing touch
Quality control demands a chef’s discipline: precise measurements, repeatable trials and honest tasting. Execute material, seam, hardware, branding and functional tests to clear thresholds before committing a run. That disciplined approach stops costly rework and keeps products consistent — a practice embraced by manufacturers such as ChangRong that builds reliable gear from the first sample to the finished bag.