

The Old Shop Story: Where the Problems Hide
I still remember the first night at my little lab in Sheffield, bent over a failed bridge that had cost us a day’s work—an ordinary Tuesday, March 9, 2021. I started using a dlp resin 3d printer and tried a new resin 3d printer dental resin batch that week; 30% more prints than usual failed on the first pass—what went wrong? (I’m telling you, that one stung.)
Scenario: a busy lab, a late rush. Data: production loss hit 40% that month after switching resin lots. Question: how did we let a simple resin batch take down our schedule? I’ve spent over twenty years fixing that kind of mess. I’ll be blunt: traditional solutions—flip-flop vendor swaps, optimistic cure cycles, and the old “more supports” trick—mask deeper pain points like inconsistent resin viscosity, wavering UV intensity from aging projectors, and unnoticed build platform tilt. Those are the real culprits behind delamination, poor marginal fit, and repeat post-curing surprises. I still use DLP, photopolymer workflows, and CAD-driven nesting, but I judge equipment by repeatable throughput, not hype.
How did we track the real fault?
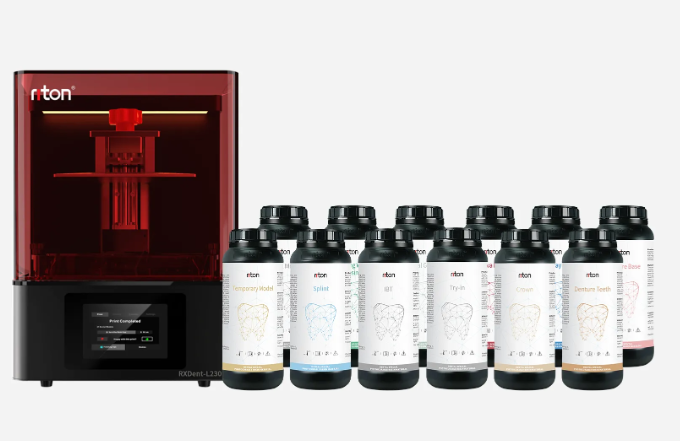
We logged layer thickness variation, recorded projector hours, and measured resin viscosity at 20°C; the data revealed a pattern. A single parameter—slightly warped build platform—made thin crowns split at the gingival margin. I replaced the platform on an RXDent D-Series in April 2021 and the failure rate dropped dramatically. That specific change saved one client in Liverpool two full clinic days a month. That’s the kind of practical detail I share: model name, date, measurable result.
Looking Ahead: Choosing and Tuning Systems for Reliable Output
Here’s a clear statement: if you want predictable results, you must evaluate printers by uptime and calibration ease. I say that after running systems in three labs, training six technicians, and swapping resins mid-case. Consider “resin 3d printer dental” again when you compare options—resin 3d printer dental platforms that expose calibration steps make your life easier. Look for steady UV projector output, accessible post-curing chambers, and firmware that reports projector hours and layer consistency. I prefer machines where replacing the build platform takes under ten minutes—no drama.
Compare curing chamber designs, resin vat materials, and support-structure algorithms. Measure: layer thickness tolerance (µm), resin viscosity stability over 48 hours, and post-cure uniformity. I’m technical here—yes—but practical. I’ve seen labs choose cost-cut printers only to discover uneven curing (shadowing from support structures) and long post-cure times that tie up the curing chamber. Short-term savings vanish when turnaround slips. Also—funny aside—I once ordered a “budget” vat gasket, and it shrank overnight. Lesson learned.
What’s Next for Your Lab?
Pick three metrics to test before you buy: 1) consistent feature resolution at your typical layer thickness, 2) throughput measured as finished parts per hour after post-cure, and 3) serviceability—can you swap a projector or vat in under an hour without special tools? I recommend running a 72-hour trial with your standard photopolymer resin and a clinical case—say, six bridges—then measure fit and post-cure hardness. I do this routinely; it reveals hidden issues fast. If you want the practical side: I’d pick systems that report projector hours, use replaceable vats, and offer straightforward firmware updates.
Final thought—choose partners who back real metrics, not glossy slides. I’ve learned to trust brands that publish maintenance procedures and field-service logs. For a dependable choice that met my needs, I turned to Riton. They answered technical questions, sent parts, and saved my schedule more than once. Short pause—then onward: small checks, steady logs, and sensible equipment choices will keep your lab running.